All DJI Intelligent Flight Modes Explained

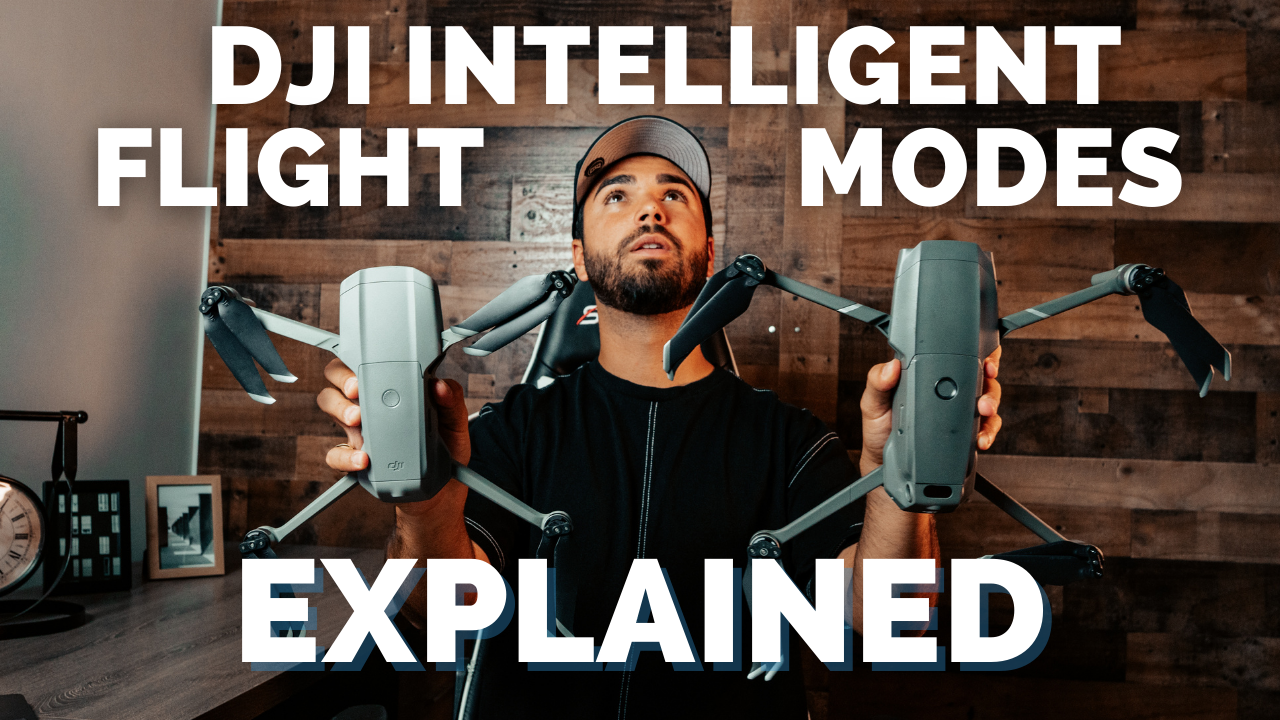
So you've built up some confidence flying your new DJI drone, and now you’re curious as to how those intelligent flight modes work. In this article, I’ll explain all of the new DJI Intelligent Flight Modes, and show you exactly how to use them. Read on to learn more.
Before we get started, you’ll first need to switch your drone out of beginner mode, and enable “Multiple Flight Modes.”
You can do this by clicking the 3 dots in the top right hand corner of your DJI Go App, and clicking on the “Main Controller Settings.” The reason DJI does this is so beginners don’t accidentally switch into an advanced flight mode and wreck their drone.
When it comes to Standard Flight Modes, you’ll have access to Position Mode, ATTI Mode, and Sport Mode. Most beginners spend the majority of their time in Position Mode because all of the sensors on your drone will be active, and you’ll have strong GPS signal strength. This mode helps your drone hold its position in the air, decreasing the chance it will drift away if you take your fingers off the remote.
By now you’ve probably been warned to stay away from ATTI Mode, because it’s commonly linked to crashes and flyaways. This mode turns off all GPS and vision sensors, meaning it will drift away and move with the wind if you’re not in manual control of it.
My favorite Standard Flight Mode is Sport Mode for obvious reasons. It’s super similar to Position Mode because it keeps GPS on, but gets your adrenaline pumping with faster movements and obstacle avoidance disabled.
On the newer DJI Drones, there’s a new option called Tripod Mode, which slows down the overall speed of your drone to eliminate any jerky movements during a shot.
Now that you’re familiar with the Standard Flight Modes, let’s open up the Intelligent Flight Modes.
For this article, I’ll be referencing my Mavic 2 Pro and if you click into the DJI Go App, you’ll see we have access to Normal Mode, Hyperlapse, Quickshots, ActiveTrack, Point of Interest, TapFly, and Cinematic Mode. Now that may be overwhelming at first glance, so let’s break each one down separately:
Hyperlapse Mode
Starting with Hyperlapse Mode, you’ll see four different versions.
- Free: In this mode, you’re in full control of the flight direction and camera angle. During that time, the drone will take pictures at the interval you’ve selected.
- Circle: After selecting a static object, the drone will start circling around the subject while capturing a hyperlapse autonomously.
- CourseLock: Regardless of orientation, courselock programs the drone to fly in a set direction while creating a hyperlapse. So if you’re in a beautiful location and you just want it to fly forward while capturing the images, this is the best option.
- Waypoint: Next, we have the most interesting hyperlapse mode which allows you to select multiple waypoints, or points in the air, and the drone will automatically shoot a timelapse along the path of waypoints you’ve chosen. The best way to do this is to navigate your drone to the first position you want it to remember, and tilt the gimbal for the optimum shot.Once you press the “Add first waypoint” button, it will remember the drones physical position and gimbal position. Once you have the first waypoint saved, you’ll repeat this same process for the rest of the waypoints you’d like in your flight path. This is my favorite version of the hyperlapse mode because it gives you a ton of freedom to create the hyperlapse of your choice.
QuickShots
Our next Intelligent Flight Mode is QuickShots, which compiles a bunch of my favorite drone movements.
- Dronie: First, we have Dronie. Which is the equivalent to a phone selfie, but drone style. It will shoot up and away to a predetermined distance, and keeps you in frame while creating a nice fun video.
- Circle: This is the same as the Hyperlapse Circle Mode, but instead of stitching images together to create a video, it just records a normal video. You’ll choose the rotational direction, and then it’s off!
- Helix: This is similar to Circle and Boomerang Mode, where it creates an upward spiral movement around the subject.
- Rocket: This next mode is the SpaceX Version of Drones. After clicking on your point of interest, the drone will go straight up into the air while the gimbal stays locked on your subject.
- Boomerang: This starts in front of the subject at eye level and then rotates around the point of interest while rising until it’s behind you, and then lowers back down as it finishes up the second half of the circle.
- Asteroid: This one gets a ton of hype, because it starts like a Dronie Quickshot and then zooms out until the sides of the screen condense into a circle, and it automatically creates a planet effect as if it left the earth.
ActiveTrack Mode
The ActiveTrack Mode has three saved flight modes built into this drone that you can use when flying. Let’s take a look at these flight modes.
- The first one is the Trace Mode, which allows you to click a button and have the drone follow behind, in front, or actually circle a subject as it’s moving.
- The second flight mode is called Profile, which lets you fly alongside a person or moving object from a set distance.
- And the third mode is called Spotlight Mode which allows you to keep the camera on the subject, but allows you to maneuver the drone as you’d like while the camera stays fixated on the subject.
Point of Interest
The next Intelligent Flight Mode is called Point of Interest (POI), which can be divided into two different categories—Vision Point of Interest, and GPS Point of Interest.
In the past, you’ve needed to be within a close proximity of your subject for the drone to recognize it, especially when you’re circling around that point of interest. With the updated POI mode, you can now recognize subjects from far away with Vision Mode, or just by tapping a GPS location on the map.
Other Modes
TapFly is a direction mode that sends the drone on a path either forward, backwards, or freely. This allows the drone to follow a chosen direction so that you can focus all of your attention on the camera movements.
And lastly, we have Cinematic Mode which slows down your drone movement and your gimbal movement so that everything looks nice and smooth.
Want even more secrets to create professional quality drone videos? Check out 14 Day Drone Pilot Pro. This course will show you how to capture and edit high-quality drone videos.


